This is the great starter welcoming job! It is so sweet, so very simple and so fun! This shiplap welcome indication can be place exterior or inside. You can make it any condition or dimension that you want it. The only resources you require is a nail gun, and a miter saw. This is simply a nap time task.
Contents
Welcome Indication Move 1: Ship lap backing
To start with, get your ship lap and slice it to the dimensions you want it. I minimize mine in 5 30 inch strips. Area the strips upside down and link them to the form you want. I then took 3 pieces of scrap wooden and nailed them to the back again of the ship lap to hook up them alongside one another.
Sand down the shiplap, and place a fresh new coat of paint on it.
Move 2: Make a body
To make a frame, I took 1×2 and mitered the finishes to 45 diploma angles. This enables them to link efficiently. I then stained the wooden with a stain and sealer in just one. After it was dry, I nailed the frame immediately into the sides of the ship lap with a nail gun.
Action 3: Entire the Welcome Indicator
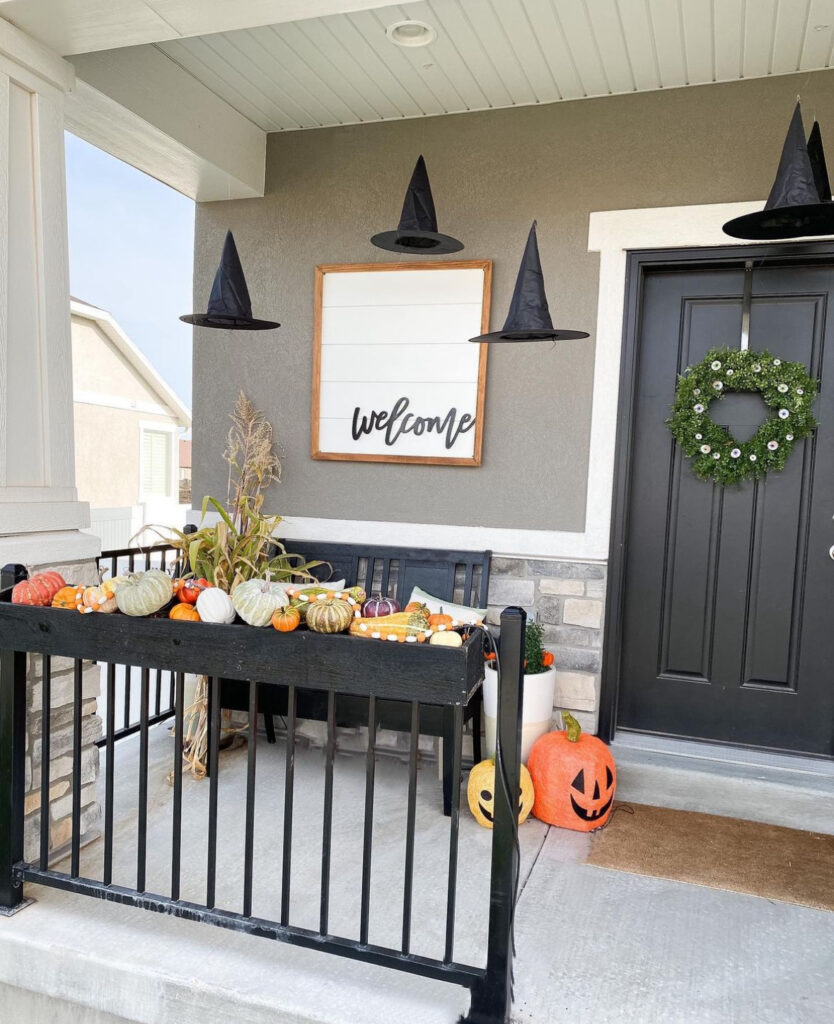
Eventually, I bought THIS Welcome wooden cut out. I painted it black and glued it to the front of the indication. And with that the welcome sign was finish. It was these kinds of a simple but pleasurable challenge. You can make it any measurement, paint it any shade, or place any words and phrases on it.
I really like how my welcome indicator turned out! If you make a single, I would adore to see it! What other words and phrases would you set on it? Enable me know in the remarks.
Adhere to alongside for much more DIYs and enjoyable at


